If you’re looking to upgrade your home or workspace, finished interior insulated wall panels could be the perfect solution. These panels are not just a trend; they offer substantial benefits that make them an excellent choice for any renovation or new build.
Imagine a home that stays warm in winter and cool in summer without cranking up your HVAC system. Think about how peaceful your living space could be with reduced noise from outside or other rooms.
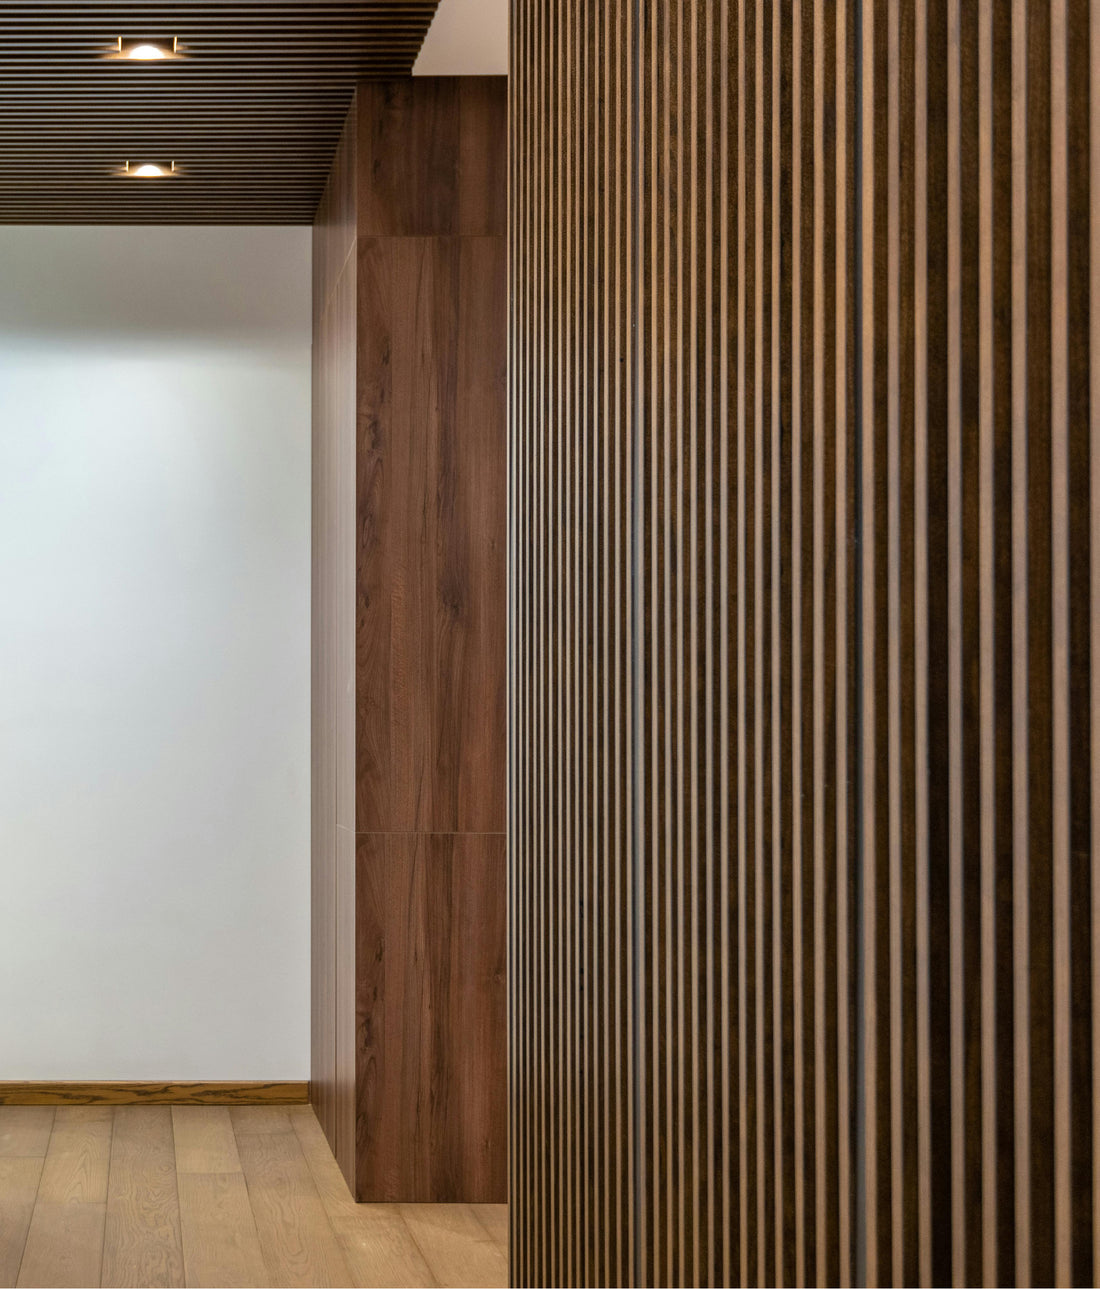
Plus, with various finishes available, these panels can significantly enhance the aesthetic appeal of your interiors.
For woodworkers, whether hobbyists or professionals, these panels are particularly appealing. They combine practicality with style, providing an efficient way to insulate and beautify your space.
Their ease of installation means you can tackle the project yourself, adding a personal touch to your work. The variety of materials and finishes also offers a playground for creativity, allowing you to design spaces that are as functional as they are beautiful.
Let’s delve deeper into why you should consider finished interior insulated wall panels. We’ll cover everything from their benefits to installation processes, ensuring you have all the information needed to make a sound decision.

Key Benefits of Insulated Wall Panels
Energy Efficiency
These panels are fantastic at maintaining indoor temperature. They create a thermal barrier that keeps heat inside during the winter and outside during the summer.
This means you can enjoy a more comfortable living space year-round without constantly adjusting your thermostat. Plus, you'll see a drop in your energy costs, which is always a win.
Soundproofing Qualities
If noise is an issue, insulated panels can be a game-changer. They are excellent at dampening sound, making your space much quieter.
Whether you live in a bustling city or have a home workshop, these panels can help create a more peaceful and enjoyable environment by cutting down on noise pollution.
Fire Resistance and Safety
Safety is a key consideration, and these panels deliver. Many of them are made from fire-resistant materials, which can slow the spread of flames if a fire occurs.
They meet strict fire safety codes, providing an added layer of security for your home or workplace.
Moisture Control and Durability
These panels are also great at controlling moisture, preventing issues like mold and mildew that can damage your walls and affect your health.
Their robust construction ensures they can withstand everyday wear and tear, so they’ll keep looking good and performing well for years to come.
Installation Guide in 7 Steps
Installing finished interior insulated wall panels might seem daunting at first, but it’s quite manageable with the right approach.
Here’s are 7 steps to help you through the process:
Step 1. Preparation
First things first, you need to prepare your wall surface. Make sure it’s clean, dry, and free of any debris. Remove any existing wall coverings, nails, or screws that might get in the way.
Use a level to check if your walls are even. If there are any bumps or irregularities, sand them down or fill in gaps to create a smooth surface for the panels.
Step 2. Measuring and Cutting
Accurate measurement is key to a successful installation. Measure the height and width of the wall where you plan to install the panels. Mark these measurements on the panels and use a utility knife or a saw to cut them to the desired size.
It’s better to measure twice and cut once to avoid any mistakes. If you’re cutting multiple panels, ensure that each piece is cut to the same dimensions for a uniform look.
Step 3. Applying Adhesive
Once your panels are cut to size, apply construction adhesive to the back of each panel. Use a caulking gun to apply the adhesive in a zigzag pattern to ensure even coverage.
Be sure not to apply too much adhesive, as this can cause it to ooze out from the sides when the panel is pressed against the wall.
Step 4. Installing the Panels
Starting at one corner of the wall, press the first panel firmly into place. Use a level to ensure it’s perfectly vertical. If the panel isn’t level, adjust it before the adhesive sets.
Continue this process, working your way across the wall. Each new panel should snugly fit against the previous one. For a seamless look, ensure that the edges of the panels are aligned perfectly.
Step 5. Securing the Panels
For added security, especially in high-traffic areas, consider using screws or nails along with the adhesive.
Drill pilot holes at regular intervals around the edges of each panel and drive in screws or nails. This will ensure that the panels stay securely in place.

Step 6. Sealing Joints
Once all the panels are installed, it’s time to seal the joints. Use caulk or a sealant to fill in any gaps between the panels.
This not only provides a finished look but also helps in preventing air and moisture infiltration. Smooth the caulk with a putty knife or your finger for a clean finish.
Step 7. Adding Trim and Finishing Touches
To complete the installation, add trim or molding around the edges of the panels. This gives a polished look and hides any rough edges.
Choose trim that matches or complements your panels for a cohesive appearance. Paint or stain the trim if necessary to match the rest of your decor.
Tools and Materials Needed
When installing finished interior insulated wall panels, having the right tools and materials at hand is crucial for a smooth and efficient process.
Here’s a comprehensive list of what you’ll need:
Basic Tools:
- Tape Measure: Essential for accurate measurements of your walls and panels.
- Level: Ensures your panels are installed straight and even.
- Utility Knife or Saw: Used for cutting the panels to the required size.
- Caulking Gun: Needed for applying adhesive to the back of the panels.
- Putty Knife: Helps in smoothing caulk and sealant for a clean finish.
- Drill and Drill Bits: For creating pilot holes and driving screws if additional securing is needed.
Adhesives and Fasteners:
- Construction Adhesive: A strong adhesive is necessary to bond the panels securely to the wall. Choose one that is suitable for your specific panel material.
- Screws or Nails: Although adhesive usually suffices, screws or nails can provide extra security, especially in high-traffic areas or for heavier panels.
Safety Gear:
- Gloves: Protect your hands from sharp edges and adhesive.
- Safety Goggles: Shield your eyes from dust and debris during cutting and drilling.
- Dust Mask: Useful if you’re working in a confined space or dealing with lots of dust.
Finishing Materials:
- Caulk or Sealant: Used to seal the joints between panels to prevent air and moisture infiltration.
- Trim or Molding: Adds a polished look by covering the edges of the panels. Choose trim that matches or complements your panels.
- Paint or Stain (if needed): For finishing the trim to match your existing decor.
Having all these tools and materials ready before you start will help you avoid unnecessary delays and ensure a professional-looking installation.
With everything prepared, you can focus on the task at hand and achieve great results with your finished interior insulated wall panels.
Common Mistakes to Avoid
When installing finished interior insulated wall panels, a few common mistakes can derail your project.
Here are some pitfalls to watch out for:
Inaccurate Measurements
Precision is crucial. Ensure you measure the height and width of the walls accurately. Mistakes here can lead to gaps, overlaps, and panels that don’t fit properly.
Always double-check your measurements before cutting the panels to avoid wasting materials and time.
Using the Wrong Adhesive
Choosing the right adhesive is vital for a secure installation. Not all adhesives are suitable for all types of panels. Make sure you select a construction adhesive that’s recommended for your specific panel material.
Applying too much or too little adhesive can also cause problems, such as the panels not sticking properly or adhesive oozing out from the sides.
Ignoring Manufacturer Guidelines
Each panel type might have specific installation instructions provided by the manufacturer. Ignoring these guidelines can lead to improper installation and reduced effectiveness of the panels.
Always read and follow the manufacturer’s instructions closely to ensure you’re installing the panels correctly.
Poor Surface Preparation
Installing panels on a dirty or uneven surface can result in a poor finish and reduced adhesion. Make sure to clean the walls thoroughly and smooth out any bumps or irregularities before starting the installation process.
Skipping the Level Check
Ensuring that each panel is level before the adhesive sets is essential for a straight and professional-looking installation.Use a level for every panel, adjusting as necessary to maintain a uniform appearance.
Neglecting Safety Measures
Safety gear isn’t optional. Always wear gloves, safety goggles, and a dust mask to protect yourself from sharp edges, dust, and debris. Neglecting safety measures can lead to injuries and make the installation process more difficult.
Avoiding these common mistakes will help ensure your installation goes smoothly, resulting in a beautiful and effective finish for your interior insulated wall panels.
Customization and Design Options
Finishes and Aesthetic Choices
One of the best things about these panels is the variety of finishes available. Whether you prefer a smooth, modern look or something more textured and rustic, there’s an option for you. You can even mix and match finishes to create a unique design that fits your style.
... of course with when it comes to finishing all of your woodworking projects and wooden furniture, we always recommend using The Wood Pro Kit from N3 Nano Finishing:

Color and Pattern Options
The customization doesn’t stop at finishes. You can choose from a wide range of colors and patterns to match your decor.
From bold, vibrant hues to subtle, understated shades, there’s something for everyone. Special effects like metallic or wood grain finishes can add an extra touch of flair to your space.
Integration with Existing Structures
Integrating these panels with your existing walls is a breeze. Use matching trims to create seamless transitions and ensure compatibility with different types of wall constructions. This way, you get a cohesive look that enhances your space without any hassle.
In Conclusion
By investing in finished interior insulated wall panels, you're not just improving the look of your space; you're also enhancing its functionality and efficiency.
With proper installation and maintenance, these panels can provide long-lasting benefits, making them a worthwhile addition to any project.
Ready to transform your space? Explore your options and take the first step toward a more comfortable, energy-efficient, and aesthetically pleasing environment. And here’s a welcome side benefit, this type of enhancement may even increase the value of your property!