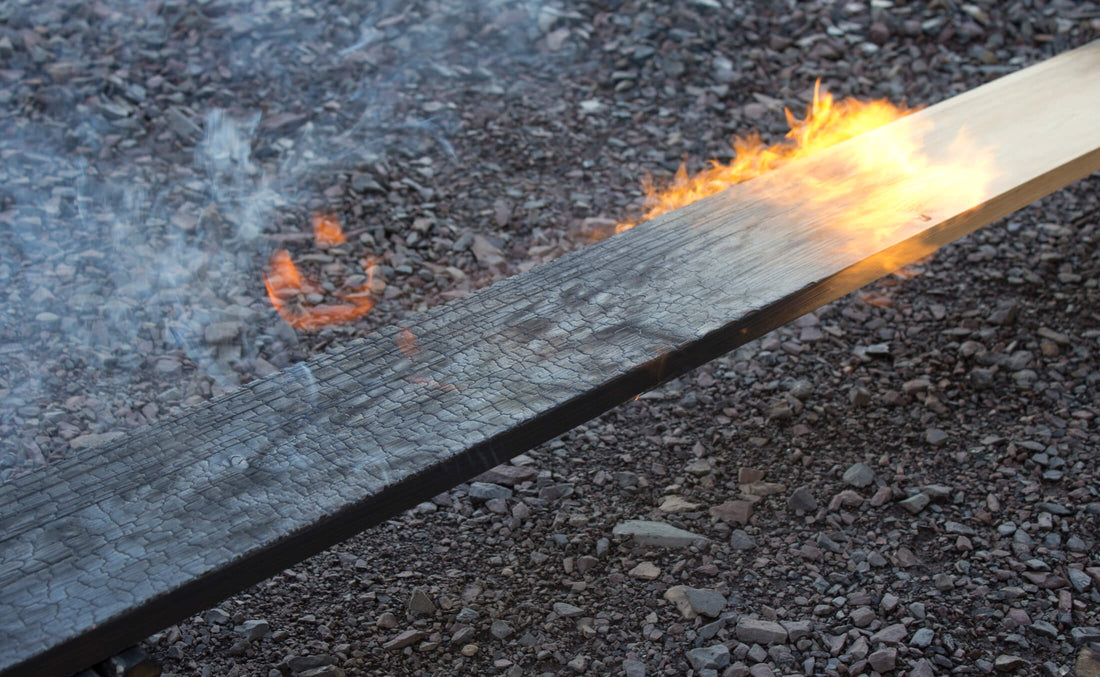
Burnt pine wood finish, or Shou Sugi Ban, is an ancient Japanese technique that’s making a big comeback in modern woodworking. It’s not just about the looks, though the aesthetic appeal is undeniable.
This method involves charring the wood surface to create a beautiful, textured finish that highlights the grain and brings out deep, rich colors.
So, what makes it so special? For starters, burnt pine wood offers a unique combination of beauty and practicality. It’s not just a pretty face; the process makes the wood more durable and weather-resistant.
That’s why it’s great for both indoor and outdoor projects, whether you’re working on furniture, paneling, or decorative pieces.

Preparing Your Pine Wood for Burning
Before you dive into the burning process, it’s crucial to properly prepare your pine wood. This ensures a smooth and even finish, setting the foundation for a successful project.
Here's a comprehensive guide to getting your wood ready for burning.
Selecting the Right Type of Pine
Choosing the right pine is the first step. Look for varieties with a prominent grain pattern, as this enhances the final look. Southern Yellow Pine and White Pine are excellent choices.
Additionally, ensure the wood has the right moisture content—too wet, and it won’t burn well; too dry, and it might burn too quickly.
Essential Tools and Safety Equipment
Having the right tools and safety gear is essential. You’ll need:
- Propane Torch: A reliable torch for controlled burning.
- Wire Brushes: For cleaning and preparing the surface.
- Sandpaper: To smooth out the wood before burning.
Safety gear is a must. Gloves, goggles, and a fire extinguisher are essential to keep you safe throughout the process.
Step-by-Step Preparation Guide
- Cleaning the Wood: Start by cleaning your wood to remove any dirt or debris. A simple wipe down with a damp cloth can do wonders.
- Sanding the Surface: Sand the wood to create a smooth, even surface. This helps the wood burn uniformly and highlights the grain.
- Setting Up Your Workspace: Choose a well-ventilated area, preferably outdoors. Ensure you have a stable work surface and keep your fire extinguisher within reach.
Now, you’ve set the stage for a flawless burnt pine wood finish!
Techniques for a Perfect Burnt Finish
Achieving a flawless burnt pine wood finish requires mastering a few key techniques. From creating the perfect burn pattern to troubleshooting common issues, these methods will help you get the most out of your project.
Detailed Burning Methods for Various Patterns
Burning wood can yield a variety of patterns depending on your technique:
- Light Charring: Move the torch quickly over the wood for a subtle, smoky look. This method highlights the grain without deeply burning the wood.
- Deep Burns: Hold the torch closer and longer to the wood for a rich, dark finish. This method creates a dramatic, textured appearance but requires careful control to avoid overburning.
- Patterned Burns: Experiment with different torch movements to create unique patterns. Try wavy lines or circular motions to add visual interest to your project.
Controlling Burn Intensity for Desired Effects
The intensity of the burn is crucial for achieving the desired effect:
- Torch Settings: Adjust the flame size and heat intensity on your torch. A smaller flame is ideal for light charring, while a larger, hotter flame works best for deep burns.
- Distance and Speed: The distance between the torch and the wood, along with the speed at which you move the torch, will affect the burn intensity. Closer, slower movements result in deeper burns, while faster, more distant passes create lighter char.
- Practice: Before working on your final piece, practice on scrap wood. This allows you to get a feel for how the torch affects the wood and helps you perfect your technique.

Troubleshooting Common Issues
Even experienced woodworkers can encounter problems while burning wood. Here’s how to address some common issues:
- Uneven Burns: If your burn is uneven, go over the lighter areas again with the torch. Consistent, even movements will help achieve a uniform look.
- Excessive Charring: Overburning can happen, but it’s fixable. Use a wire brush to remove the excess char and even out the surface.
- Accidental Scorch Marks: If you accidentally scorch an area, sand it down gently and re-burn it lightly to blend it in with the surrounding wood.
Post-Burn Treatments and Maintenance
After you've achieved the perfect burn, it's time to treat and maintain your wood to ensure it looks great and lasts for years.
Proper post-burn treatments will enhance the wood's beauty and provide essential protection against the elements.
Sealing and Staining Techniques
Sealing and staining your burnt pine wood is crucial:
- Choosing the Right Sealant: Use a clear, high-quality sealant like polyurethane or tung oil to protect the charred surface. This not only safeguards the wood but also brings out its rich, dark hues.
- Applying the Sealant: Apply the sealant evenly using a brush or a cloth. Make sure to cover all areas, including edges and corners, to provide thorough protection. Allow the sealant to dry completely before applying additional coats.
- Staining for Added Depth: If you want to add more color or depth to your wood, consider using a stain. Choose a stain that complements the burnt finish and apply it after sealing. This enhances the grain and adds a layer of richness to your project.
...and of course with all of your woodworking projects or furniture, if you are looking for that extra layer of protection, we do recommend The Wood Pro Kit from N3 Nano:

Best Practices for Long-Term Maintenance
Maintaining your burnt pine wood ensures it stays in top condition:
- Regular Cleaning: Dust and dirt can accumulate on the surface, dulling its appearance. Regularly clean your wood with a soft cloth to keep it looking fresh.
- Reapplication of Sealant: Over time, the protective sealant may wear off, especially on outdoor projects. Reapply the sealant every year or as needed to maintain its protective qualities.
- Inspection for Damage: Periodically inspect your wood for signs of damage, such as cracks or fading. Address any issues promptly to prevent further deterioration.
Enhancing the Durability and Aesthetics of Your Project
To maximize the beauty and lifespan of your burnt pine wood, consider these tips:
- Using Oils and Waxes: Applying oils like linseed or tung oil can penetrate deep into the wood, enhancing the grain and providing a natural finish. Waxes can add a protective layer and a subtle sheen.
- Avoiding Harsh Chemicals: Use mild, natural cleaners to avoid damaging the wood's finish. Harsh chemicals can strip the protective sealant and harm the wood.
- Environmental Considerations: If your project is outdoors, consider additional treatments to protect against UV rays and moisture. Products designed for outdoor use can help preserve the wood's appearance and integrity.
With the right post-burn treatments and ongoing maintenance, your burnt pine wood projects will remain stunning and durable, showcasing the beauty of this timeless technique.
In Conclusion
Incorporating a burnt pine wood finish into your projects opens up a world of creative possibilities. This technique offers both aesthetic and practical benefits, making your work stand out while ensuring it lasts.
Don’t be afraid to experiment. Personalize the technique to suit your style and project needs. Whether you’re a hobbyist or a professional, mastering this finish can elevate your woodworking to new heights.
Patience and practice are key. The more you work with burnt pine, the more you’ll appreciate its unique qualities and the stunning results you can achieve.
So grab your torch, get burning, and transform your wood into something truly extraordinary.